Setting up a new project
Projects are the place in the RiskScape Platform where users can collaborate on building, running, and sharing results from RiskScape models. In this tutorial, we will set up a project for the files we used in the Getting started guide tutorial.
Tip
For more general purpose information on projects, see the Projects administration page.
This tutorial assumes you are already the administrator of an organization. If you are not, but you are a group or a project administrator, you may be able to complete part of this tutorial:
Group administrators can create a new project and edit the files.
Project administrators and editors can edit the files for an existing project.
Organization administration
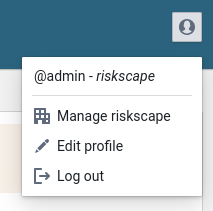
To start, navigate to your organization page via the user menu in the top-right corner of the page. Click “Manage [your organization name]” and from there select “Groups” from the left hand navigation.
Tip
The screenshot above uses the built-in RiskScape organization as an example, but you should see the details for your organization instead. If you do not see an option to manage your organization, it is likely that you are not an organization administrator and you will need to get in touch with someone who is to set up a project for you.
Choosing a Group
Groups are a tool for organizing your users and projects at a higher level than a project. All projects belong to a group, and users can be members of a group as well as a project. Our new project can be created as part of an existing group, or we can create a new group instead. For more details, see Groups.
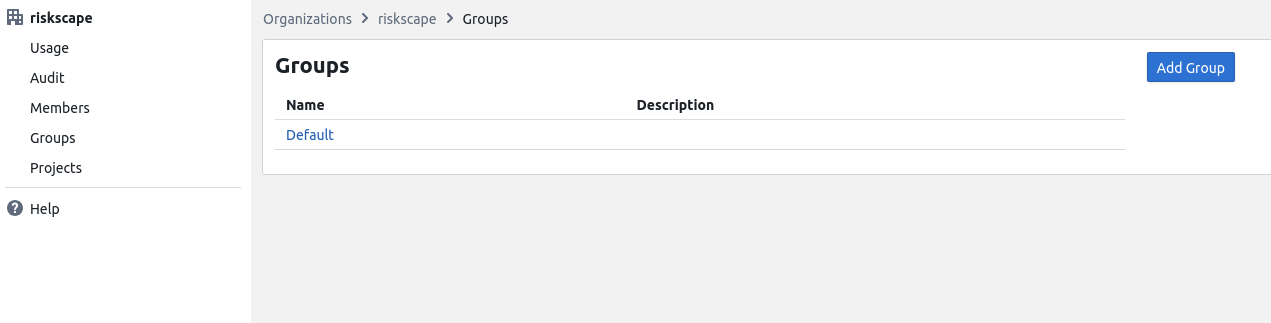
In this tutorial, we will be creating a new group just for this project. Click the “Add Group” button, and enter a name for this new group. We are going to name it “Tsunami”. As you enter the name, you will see that the Platform creates a “slug” for us as we type. This slug is what will be seen in the browser’s address bar when you are looking at the group page, and is often used alongside the organization’s slug to uniquely identify it. You can customize the slug if needed, but the platform-generated slug is usually good enough.
You can also add a description to help identify and describe the purpose of the group, but this is optional.
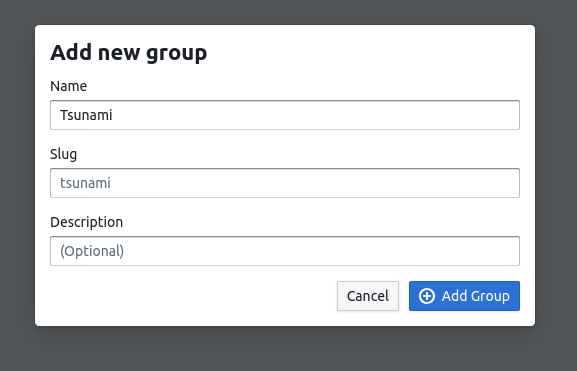
Once you confirm the details for the new group and press the ‘Add Group’ button, you will be redirected to the group’s page. From here we can add new projects as well as manage the members of this group.
At this point, if you were to add a user to the group with the admin role, they would be able to administer
the group for themselves - that user could now log in and complete the rest
of the tutorial.
Tip
See Projects for more information on the relationship between groups and projects.
Creating the project
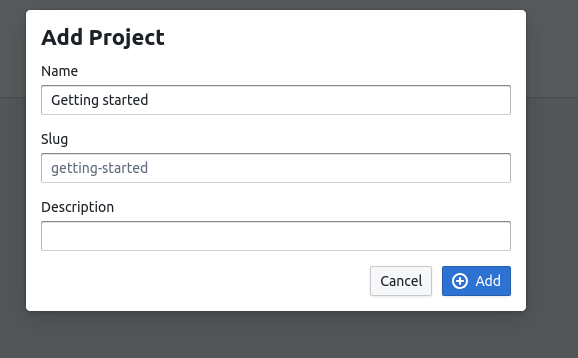
From the group page, click the “Add project” button. Similar to the step before where we created a group, we can enter the project’s name, slug and description. They serve the same purpose on a project as they do for a group.
Tip
A project’s slug, in combination with its group and organization slug, uniquely identifies it within the RiskScape Platform.
We are going to call our new project “Getting Started”.
Similar to how we added a user to a group as an admin, we can also add a user to a
project as an admin or editor. This would give that user full control to administrate the
newly created project. You may wish to “hand over” the tutorial to them to finish
off setting up the project for themselves.
Configuring an Engine
After creating your project, you will need to decide whether to run models using managed or provided engines. Unless directed otherwise, you will want to use a managed engine, which uses the cloud to run your RiskScape models. By default, newly created projects are configured to use a managed engine.
Tip
For more about the difference between provided and managed engines see Platform managed engines.
If your project is not using the managed engine, you may enable it within the project settings page (found in the left hand menu), update your project to use a managed engine by selecting ‘Automatically manage this for me’ under ‘How should this project’s models run?’.
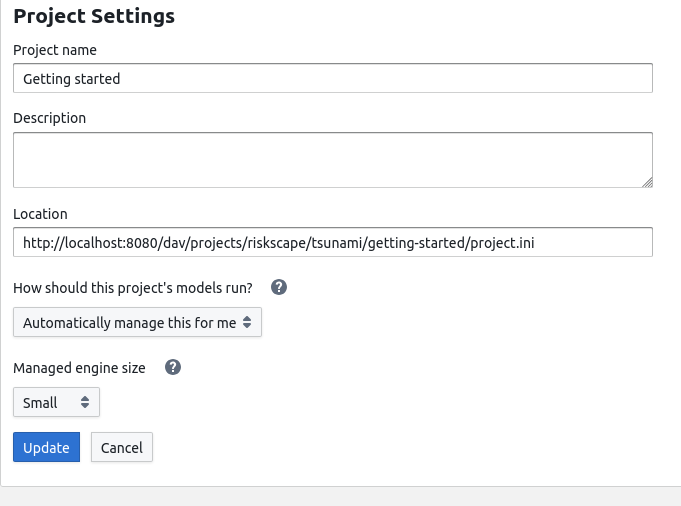
The engine size option allows you to choose how much cloud computing resource to run your model. A large engine will typically run your model faster and allow larger, more complex models to be run than a small or medium one, but will cost more per hour.
Uploading project files
Tip
Before uploading your project, make sure it works using the RiskScape Engine CLI on your computer first. It is quicker to build and debug models using RiskScape Engine’s CLI than using the RiskScape Platform.
Once confident our models are running without error on the CLI, we can upload the CLI project files to our newly created Platform project. There are two ways to do this:
Drag and drop files onto your project’s ‘Files’ page in your web browser, or
Mount the RiskScape Platform’s project storage as a network drive on your computer using WebDAV.
Whichever approach you use, you want your project.ini to end up in the ‘top-level’
of your Platform project. This is where RiskScape will look by default for your project.ini
file, although you can change this path in the project settings.
If you don’t have your own project ready to upload yet, you can try the Exercise: uploading an example project below.
Tip
Be careful what you upload. Some files, like pycache files are
temporary, and not needed to run your models. If you upload them, you will
incur unnecessary cloud charges for their storage. A common mistake is
accidentally including the output directory which can be quite large.
Note
Paths in your project files starting with C:\\ (or / on Linux/Mac) will
not work in the RiskScape Platform. These are “absolute” paths and refer to
specific locations on your own computer. All paths need to be “relative”,
e.g. data/buildings.gpkg rather than
C:\\Users\\ronnie\\RiskScape\\Tsunami\\data\\buildings.gpkg
Drag and drop
In your file explorer, simply select the project files you want to upload, and then drag and drop them onto the ‘Files’ web-page for your project.
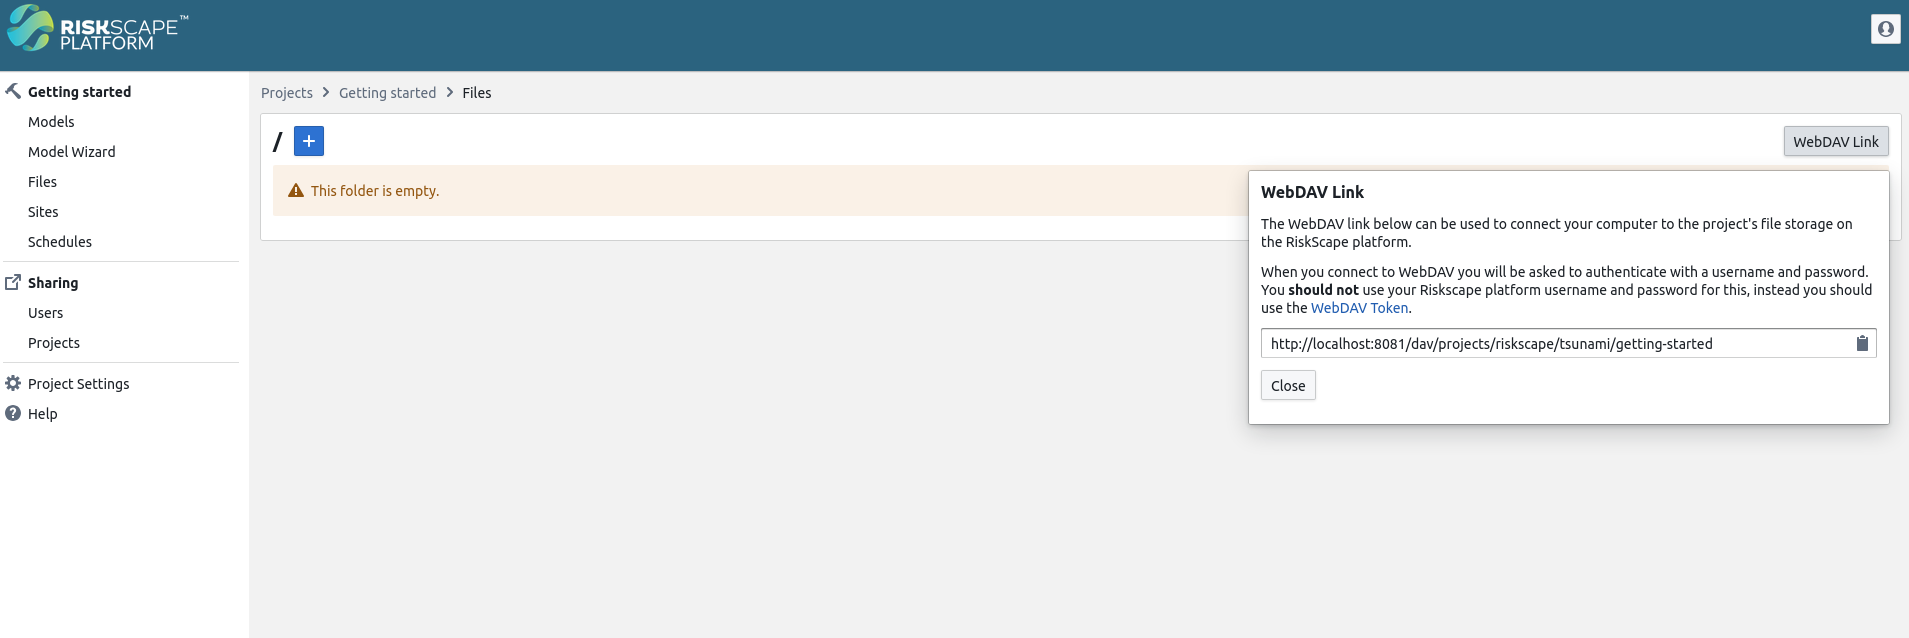
Alternatively, you can also upload project files individually using the ‘+’ button in the Platform’s ‘Files’ web interface, and select ‘Upload file’.
WebDAV
Note
Using WebDAV with the RiskScape Platform is currently not supported for Mac users.
On the Files page, you can click the ‘WebDAV Link’ button to get the WebDAV link to your new project from. Then follow the instructions in WebDAV to set up WebDAV.
Once WebDAV is set up, you should be able to copy files from your local computer to the Platform, just as you would for copying files around your own computer.
Note
By default, WebDAV file uploads for Windows users will be limited to files that are 50MB or smaller.
You can increase this limit to 4GB by modifying the FileSizeLimitInBytes
registry setting on your computer.
Loading your models
Once your project’s files have been uploaded, the final step is to reload the project. This tells the Platform to send your files to the RiskScape Engine so it can read your project’s models in to the Platform. This button is located on the right hand side, next to the traffic light indicator.
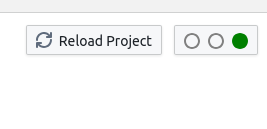
Reloading a project uses a separate managed engine. It may take a few minutes for the cloud engine to build, the first time you reload a project.
Once loaded, you should see your list of models (if not, see Troubleshooting common issues below). Try running a model to make sure it works.
Note
Every time you modify the INI files in your project, you will need to click ‘Reload Project’ before the changes will take effect. This is a little different to using the RiskScape CLI Engine, where INI file changes take effect immediately, every time you run a RiskScape command.
Troubleshooting common issues
Engine not assigned: Make sure you have enabled managed engines in your Project Settings.
Project problems: If there is an error for
project.ini(No such file or directory), then check:If you are the organization admin, that you are a member of the project (you may have to add yourself).
The
project.iniis in the top-level of your project. If you have copied it into a different sub-directory, then you will need to update the ‘Location’ in your ‘Project Settings’ page.Make sure you click ‘Reload Project’ afterwards.
Remember to reload the project every time you modify an INI file. Otherwise your changes won’t take effect.
If RiskScape is having trouble opening a file, then make sure all the project files were correctly transferred. If any files are missing or incomplete, try uploading them again
Make sure you don’t have any absolute paths, such as
C:\locations.
Tidying up
Once you have something working, it’s worth updating your project.ini
to provide a better experience to the Platform users that end up running
your models. You can add properties to parameters to customize what users
see when they go to run a model. Usually you will want to provide nice
labels and descriptions for each parameter, but it is also possible to
define things like lists of options or provide more useful UI controls
(like numeric entry or file chooser inputs for data).
See Customizing the model run form for more details on what can be customized.
Exercise: uploading an example project
The scenario here is a hazard modeller has given you their RiskScape CLI project and wants you to upload it into the platform for them.
You may want to create a new Platform project for this exercise, or someone (e.g. the organization admin) may have already created a project workspace for you.
Part 1: copy the files
Click here to download an example project. Unzip the files locally.
In a file explorer, navigate to the unzipped directory. Make sure you can see the
project.inifile.Select all the project files, including the
project.inifile, and Drag and drop the files into the Platform ‘Files’ page for your project. Alternatively you can use WebDAV to copy the files into the Platform, if you feel comfortable with that.Once you have copied the files into the Platform, click the ‘Reload Project’ button for your project.
Part 2: fix the problems
Although this project runs OK on the modeller’s laptop, there are a few issues with the project in the Platform. Try to work through the various errors that crop up. You’ll need to modify the project files on the platform, and then reload the project. Once you fix one error, it may uncover a new error. Refer back to the Troubleshooting common issues tips.
Once you have got the model loading, make sure the model runs OK as well.
Part 3: Deleting sensitive data
The hazard modeller accidentally left a file in the project that contained sensitive information.
Delete the confidential.txt file from the project.
What happens if you create a new confidential.txt file and look at its history?
Has the data truly disappeared from the Platform?